Putting Together the Lietz Family Command Center/ My Office Wall
So way back in January I decided my big January project was going to be organizing my desk. And well I gave it my best shot and made some progress (not a whole lot, but some). So sometime last month while I was deciding what projects I wanted to work on, I decided maybe it was time that I finally finish up at least my office wall.
For the record it used to look like this:

As you can see I have it about half way to where I think it should be. And I just kind of left like that for a while. But doing this blog has inspired me to start finishing all these projects I've got in the works. And I wanted to start with my office wall/ family command center.
The Project
Finish Up The Command Center/ Office Wall
And before I start talking about my command center I want to share a few photos of what I'm aiming to achieve with my command center.
Inspiration:
Overall I would like my command center to look something like this:

And as much as I love the design of that command center, I'm a girl who loves color. So I knew I needed something that was right for me and also would flow with the rest of the house. And I just happened upon the color palette below.

Only I switched out the black navy blue (I just think it will flow better with the rest of my house).
Results
I think I've written this piece a hundred times, but `nothing has felt right. So I decided to switch it up and show you how it turned out. And then talk about each part individually.

Like I said earlier I really like color and I thought the easiest way to include some color would be to paint my frames. All it takes is a little patience to sand off the original color and then repaint. (or if you have plastic frames, I suppose you could just spray paint over the original color).
And I liked keeping my smaller frames a single color, so that the picture inside could have a lot of color. And then for the bigger frames up top I painted on alternating diagonal lines, so together they would look like an abstract chevron pattern (I had planned on putting all of my baby's pictures up there, but if we have anymore it's not going to be for a while. So now I just like having the border up top).
This time round I finally painted my dry erase calendar frame with this pattern:

(Photo from Whats Up Nails)
and then I finally decided to be proud of Bachelors Degree and painted the frame with a navy blue base and went over it with gold sharpie in this pattern:

(Picture from Spoonflower)
It looks nice up close, but the further away you get, the more it just looks blue. So now I've got to figure out to make it pop.
And since I painted most of the frames with a geometric pattern I decided to paint my wooden L with a blue base and then over it I painted on it Lietz in an abstract cursive font. (I think it
And I guess I have to talk about the alien face. Mike made it at some point in his life. And I hung it up to help tie our different styles together.
Now to my favorite part of decorating: deciding what to put in all the frames. I've switched up the little frames from time to time. I've hand written out some sayings, to using some of the frames to make project and to do lists. (The big ones I always thought I would save for our children, but if we have anymore it won't be anytime soon, so in the mean time I decided to just start using them.). I decided maybe it was time that I looked at the frames a little more seriously. (And if you search Pinterest for wall printables you can find just about anything you want).
So to fill my frames I decided the best combination was to mix in a little bit of everything. I kept one of my original prints so I could list upcoming appointments and important dates for my calendar. I put up photos of my boys as babies and my favorite photo of my grandpa and me with the horses at Assateague Island.
I put up a couple of word art pictures to help motivate me. I found that Chicfetti has some of the best free prints around. I really wanted to use them all, but in an effort to make it more well rounded I just went with two.
And then to round out my frames I added a couple pictures. I found a Retro Tree Print
with a similar color palette to mine.
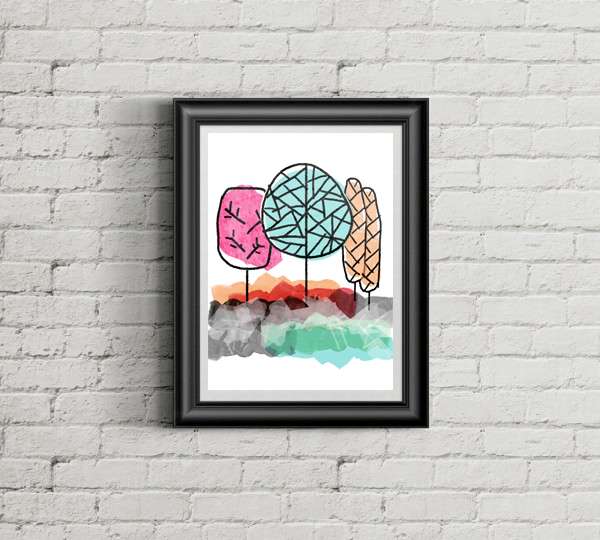
and it definitely helps bring everything together.
By far and away my favorite picture is this rainbow castle print.
 It was created in response to the Pulse Nightclub shooting and all the proceeds go to the American Red Cross.
Now that the gallery wall is completed, I just have few little jobs to work on. The first is to complete my thread organizer to make it look like this:

I've already painted it pink; I just need to find a frame big enough to go around it (but small enough that it fits in the space).
I also need to just touch up my cork board. (I swear there is nothing harder to paint them wine corks, but I'll eventually get back to it.
And finally, I need to figure out what to put in place for the wall pockets. (We just never use them, so right now they just collect junk).
And finally, I need to figure out what to put in place for the wall pockets. (We just never use them, so right now they just collect junk).
Comments
Post a Comment