Activity Book: T is for Time
I'm back again with another update for my activity book. For this next page I decided I wanted to work backwards. I knew somewhere in my book I wanted to put in a clock. I realize that by the time either one of my boys learn to read a clock they'll know longer be playing with the activity book, but I just wanted to get them used to what a clock looks like and a little bit on how it works. Plus Blue so far is happy to point out all the numbers around the face to me.
So once I had the idea for the page, I knew there was no better letter for this than T. So without further ado here is my page for T is for Time.
So once I had the idea for the page, I knew there was no better letter for this than T. So without further ado here is my page for T is for Time.
Here's What You Need:
- Dark Purple felt
- White Felt
- Black Felt
- Assorted Buttons
- Needle and Embroidery Thread
- Scissors
- Optional: Drawing Compass
Here's How You Do It:
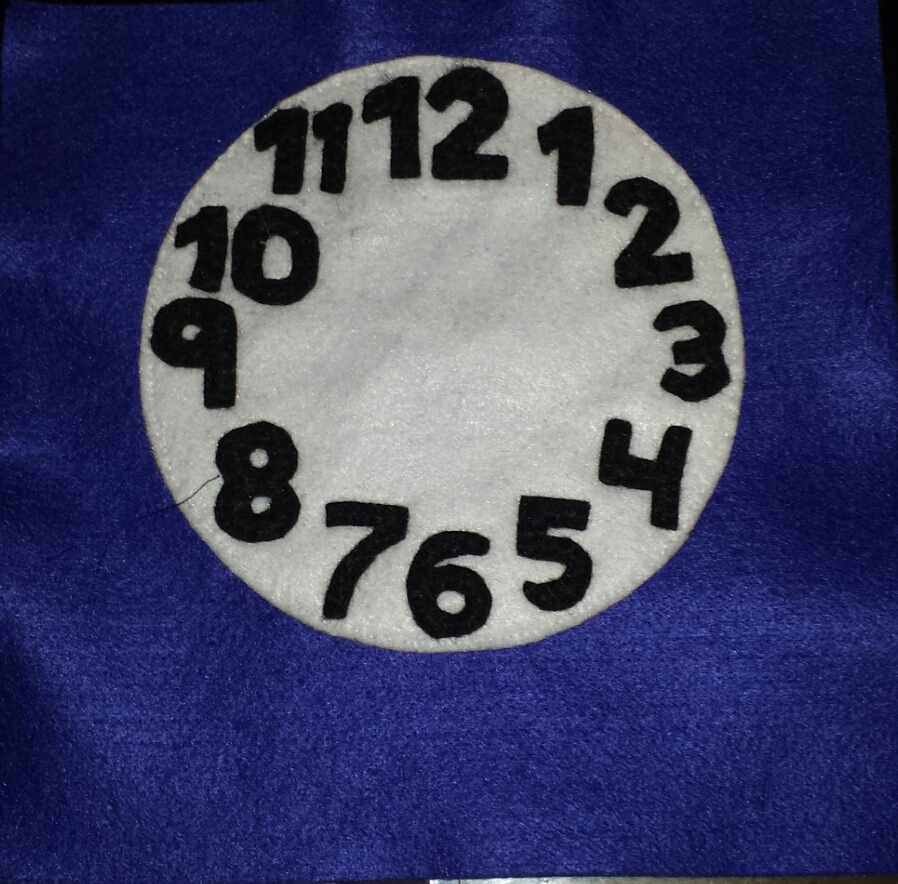
Step 1: Create the Clock Face
Cut a large circle out for your white felt (approximately with 6 inch diameter). I traced a large coffee container to create my circle, but you could also use a drawing compass if you have one handy.
Create numbers for your clock face out of your black felt and stitch them around your clock face. I sewed down first the 12 and 6, then the 9 and 3 and then filled in the clock face with the remaining numbers. When you're finished it'll look something like this:
Next create your clock hands by cutting two rectangles out of your black felt, one 1 x 3 inch and 1 x 2 inch. Trim down one end of each rectangle to create a point and then round out the other side on each. Then trim out a small circle in the center of each rounded side.
Here's what your hands should look like:

Step 2. Putting the Clock Together
Starting in the center of your clock place a small 2 or 4 hole button (it should be slightly larger than the hole you cut in the minute hand). Place the minute hand on top. Place another small 2 or 4 hole button onto of the minute hand. Place the hour hand on top of that. And finally place a shank button on top of the pile.
(If you have grommet pliers, you could replace the 2 or 4 hole buttons with grommets around the holes in the hands)
Carefully sew your felt and button sandwich together, making sure the thread goes through holes in the buttons and holes in the felt, but not into the fleshy part of the felt hands.
It'll look something like this:

Step 3: Finishing Touches
Cut out a letter T out of spare fabric. And then back stitch on the words 'is for time'.
Here's The Finished Product:

Comments
Post a Comment