Activity Book: A is for Apple
I've been seeing a lot of various Quiet Books on Pinterest lately. At first I thought it was a neat idea, but I don't really take the boys anywhere that I need something to entertain them for a while. Then I saw the idea presented as an Activity book and all my creative juices started to flow. And now that my mom is about an hour and half away from I tend to visit her at least once a month and it would definitely be useful to entertain Blue (and eventually Lion).
So here's my start to my Alphabet Activity Book. One page at a time; Two pages a month (Because I'm a busy working mom and that's all I can handle right now)
First letter up is Letter A.
Here's What you Need:
So here's my start to my Alphabet Activity Book. One page at a time; Two pages a month (Because I'm a busy working mom and that's all I can handle right now)
First letter up is Letter A.
Here's What you Need:
- Light Blue Felt
- Green Felt
- Light Green
- Brown Felt
- Apple Buttons
- Embrodery Thread
- Ribbon
Here's How You Do It:
1. Using some scrap paper, make a rough sketch of what you want your page to look like.
2. Cut the brown felt into a tree trunk. Cut a whole in the center of the light green piece, big enough for the tree to sit in. Attach the light green felt and tree to the light blue felt
3. Attach the green felt piece, only sewing across the top. Mark along the bottom of the Green felt in little humps. Cut out along these humps.
4. Figure out where you want to put the apple buttons.

5. Make a letter A out of scrap fabric. Attach it to the bottom right side of the light green felt. Hand stitch in the rest "is for Apple".
Here's what my finished product looked like:
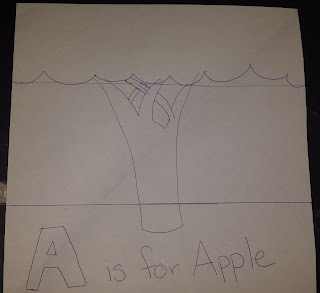
(Here's my very rough sketch)
2. Cut the brown felt into a tree trunk. Cut a whole in the center of the light green piece, big enough for the tree to sit in. Attach the light green felt and tree to the light blue felt
3. Attach the green felt piece, only sewing across the top. Mark along the bottom of the Green felt in little humps. Cut out along these humps.
4. Figure out where you want to put the apple buttons.

(I placed four buttons stationary around the top and one at the trunk to look like it fell. The other four I made little pockets in the top of the tree and one in the A. Then I attached the buttons to a piece of ribbon. So that they apples could be pulled out and then hidden again.)
Here's what my finished product looked like:


Comments
Post a Comment